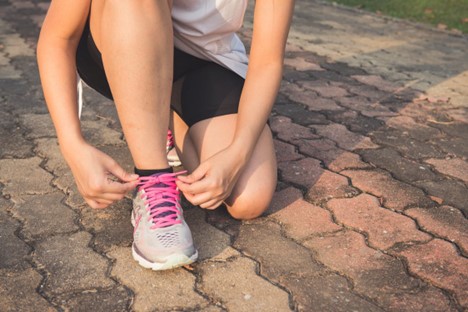
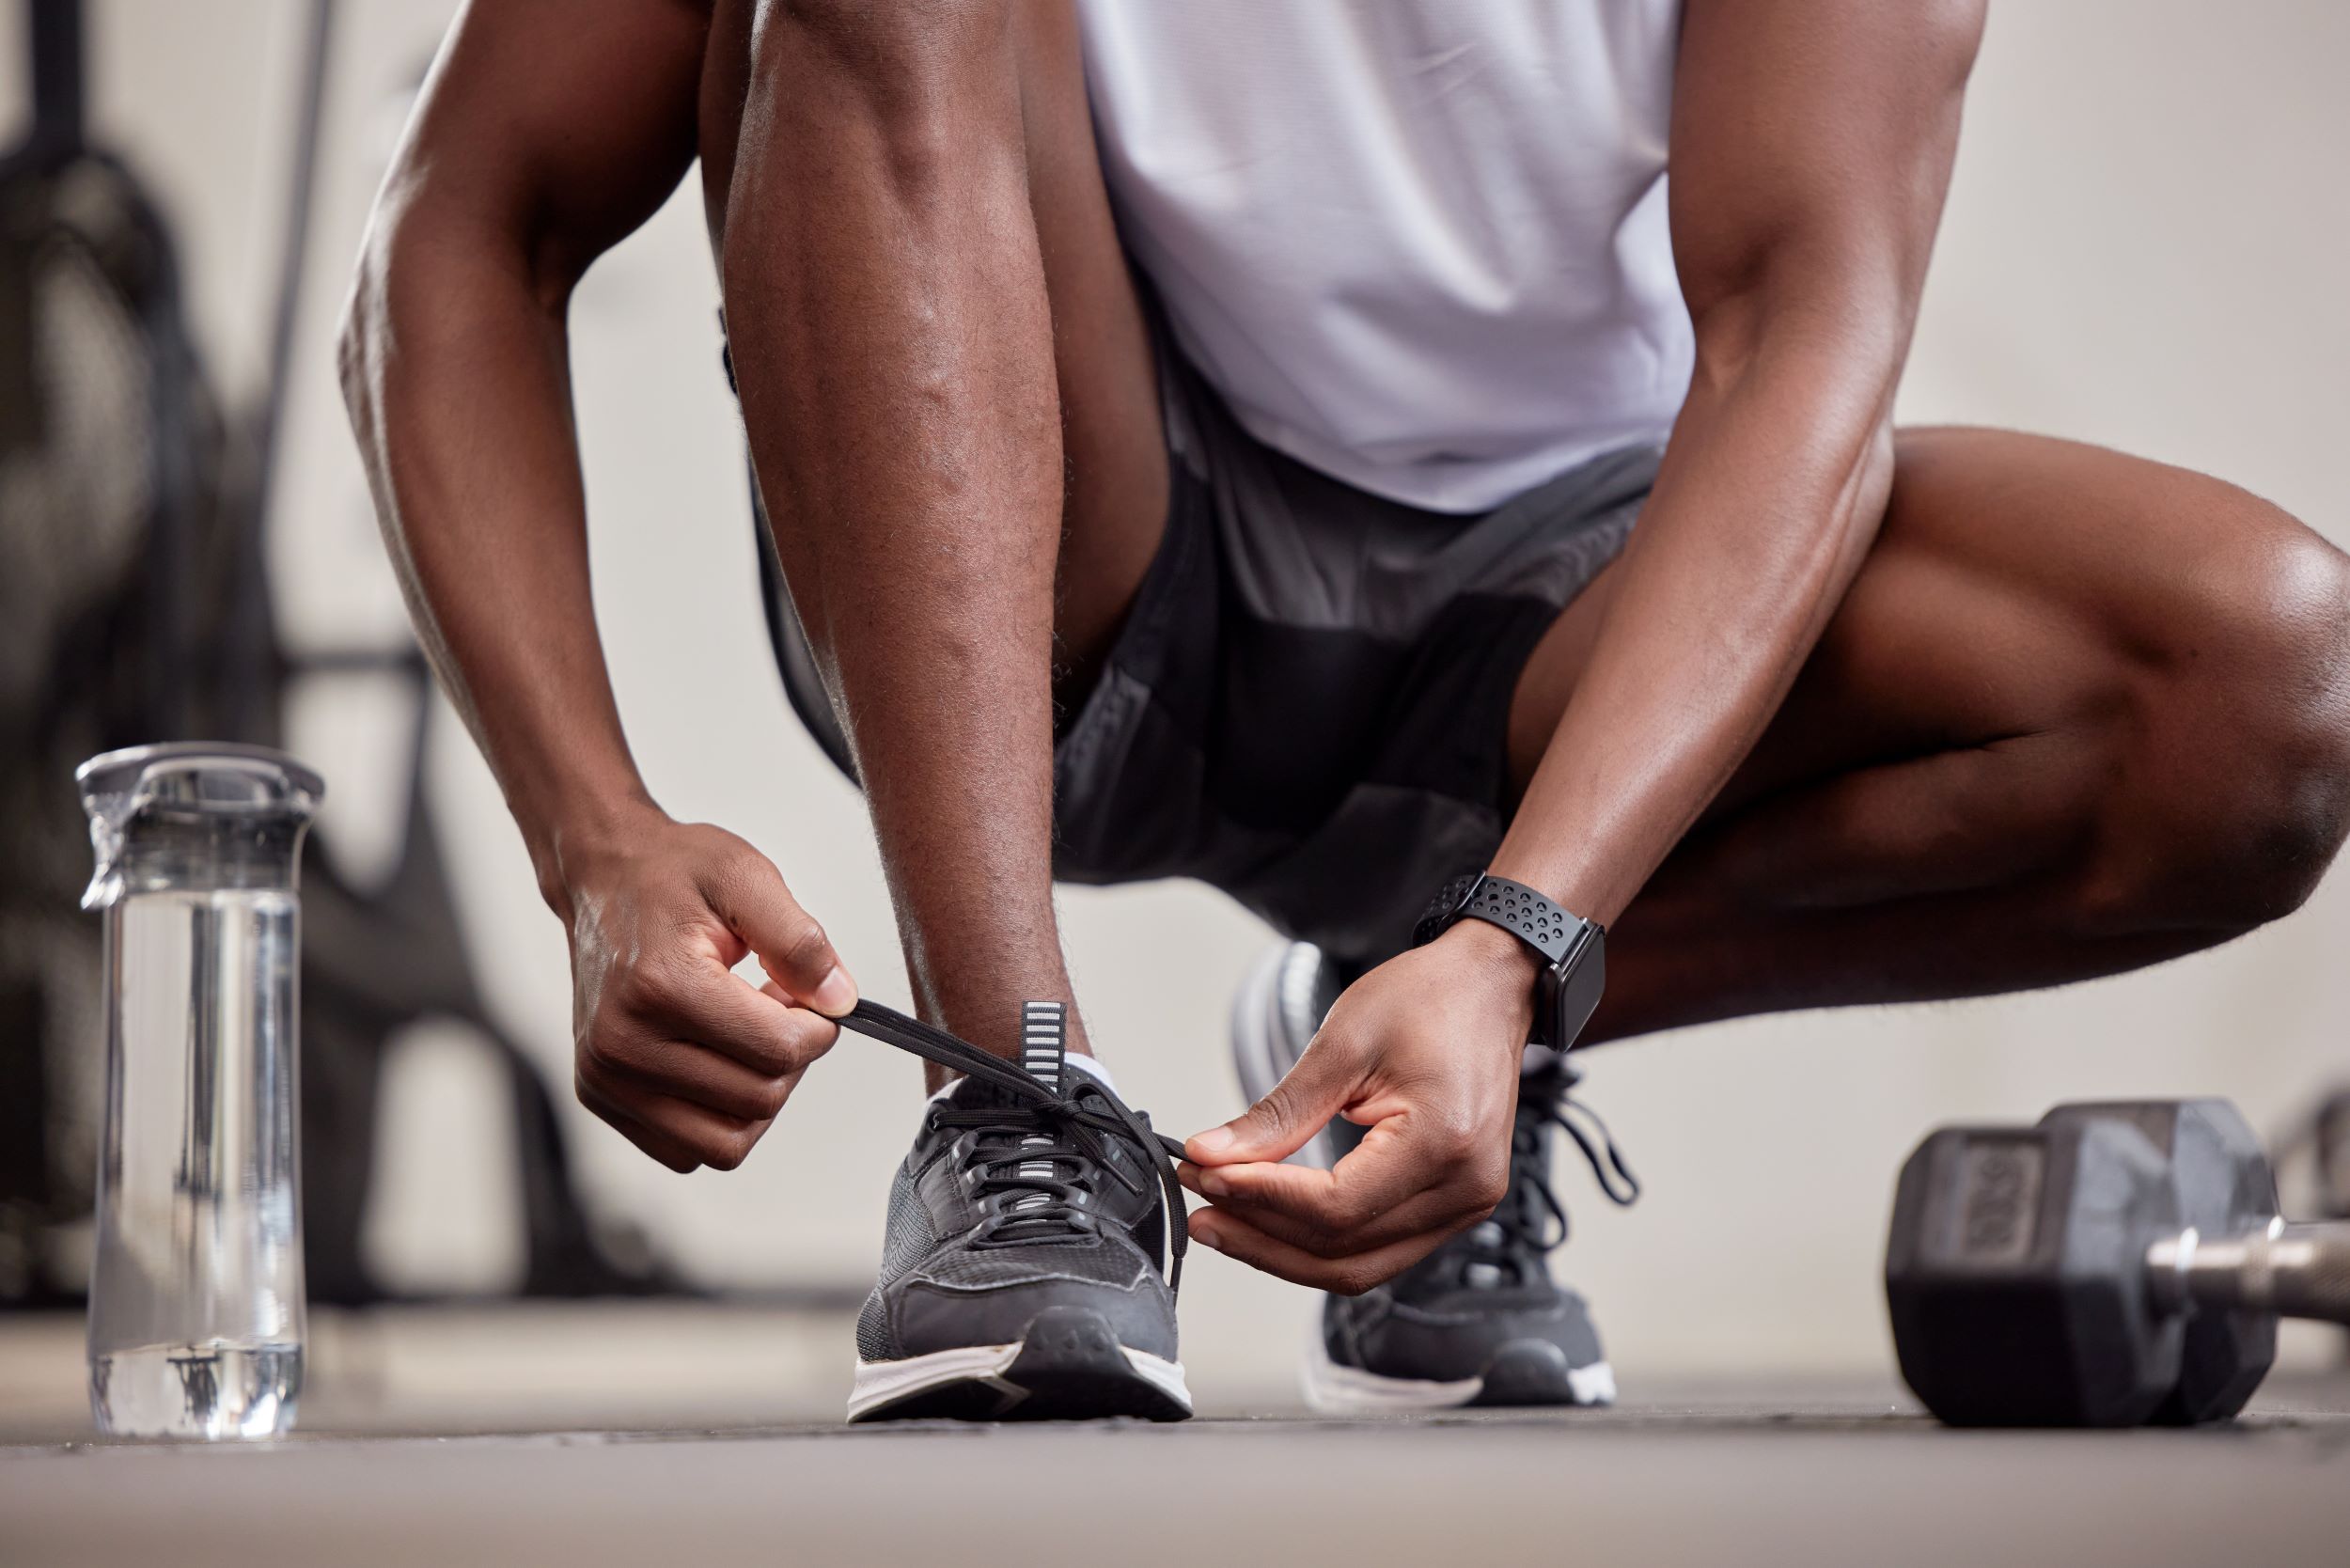
Tying our shoelaces is a skill we usually learn at age 5, and the technique sticks with us for the rest of our lives. So what’s new there to learn exactly? Many people don’t know that there are multiple ways to lace your shoes for a better fit. If you are a runner, a creative lacing strategy can make your sneakers more comfortable and improve your overall performance.
More often than not, a simple lace adjustment can minimize the chances of hot spots, black toenails, increased pressure points, and other common foot problems. But before you learn all the lacing techniques, it is important to note that you first need a suitable canvas – your shoes. Even the best lacing technique cannot save a wrong pair of shoes. Check and be sure that the widest part of your foot (the area where your toes bend) align with the broadest part of the shoe (the area where the shoe bends).
Once you have placed your foot in the shoe, lace it snugly. Hold your middle and index fingers together and put them along the shoe’s tongue, so your fingers face toward your toes. The holes on the shoes should barely be your fingers on each side. If your shoes feel comfortable when laced and you can only raise one finger between the rows of holes, the shoe is too big. If you have three or four fingers of width, the shoe is too stretched at the top, making it tight.
Shoes that aren’t the right fit can result in various problems, depending on the shape of your foot and running form. For instance, if you fall too much, your shoes are perhaps too small. On the other hand, when the shoe is not designed to bend as your foot is trying to flex, this raises your heel. This consequently creates friction with each step which then results in blisters. Going a size up is always better, but still not recommended.
Once you have picked the right shoes, it is time to start lacing them. Listed below are three methods of shoe lacing that serve different purposes.
Runner’s Loop
This technique is used when you are looking to lock your heel in place. When the heel isn’t held firmly, your foot can slip forward and touch your toes against the front of your shoes.
- Start by lacing your shoes as you always do, and stop when you reach the second opening below the top on each side.
- Rather than crossing the laces one more time, pull each end up on the same side, putting it into the top hole on that side, forming a loop.
- Pull each end of the lace through and across the loop formed on the opposite shoe side.
- Pull the ends of the lace up and out multiple times to shrink the loops so they can hold the lace properly on both sides.
- Finish tying your shoelaces as you would normally.
Diagonal Lacing
If you often experience painful toenails while running, diagonal lacing can help with the problem.
- Run the shorter lace from the first hole to the top of the opposite side.
- Use the longer side to lace your shoe in a parallel way, all the way to the top of the shoe.
- Continue to lace the rest of the shoe as usual.
Window Lacing
Window lacing is perfect for people with a high instep, which means the top of the foot is slightly lifted in the middle and near the ankle. If you have a high instep, you might struggle with irritation or pressure on the top of your foot while wearing the shoe. As the name suggests, this type of lacing creates a window in the pattern to accommodate a high instep by adding volume in the middle of the foot, thereby reducing pressure.
- Unlace your shoes from the top 3 to 4 holes.
- Insert the end of the right shoelace in the hole directly above it so that it goes toward the inside of the shoe. Repeat the same process on the other side.
- Lace up the shoe normally.
Lacing Techniques for Different Foot Types
Wide Forefoot
If you have a wide forefoot, you must follow a lacing technique that offers you more space in the toe box.
- Start by weaving the shoelace only through the sides.
- Start lacing in a crisscross way once you reach the mid-foot.
- Finish with a crisscross through the last holes.
Narrow Foot
For people with narrow feet, the lacing style should tighten the shoe.
- Begin by lacing the shoes in a crisscross style.
- Next, ski a hole and weave the lace in a crisscross.
- Finish lacing the shoes in a regular crisscross manner.
Overall Wide Foot
If you generally have wide feet, you can loosen the shoe by reducing its pressure via laces. You won’t have to fear tripping over the laces or slipping.
- Begin by lacing up the shoes in a usual crisscross manner.
- Next, weave the laces in every other hole in the same crisscross manner until it looks like a big ‘X’ over the remainder of the shoe.
- Tie the rest of the shoe typically.
High Mid-foot
A high mid-foot can put pressure on the area, thereby causing pain.
- Begin by usually lacing the shoes in a crisscross manner.
- Next, weave the laces throughout the sides of the shoes.
- Once you have reached the point where the bruising occurred, begin tying in a crisscross manner.
Most shoes come with long enough laces to help you follow these techniques. However, if your shoelaces are not long enough or are worn out, you should replace them with new ones that closely match the shape and length of the previous ones.
Conclusion
Various styles and techniques of lacing running shoes serve different purposes. Depending on your problem area, you can try different lacing techniques and see which works best for your feet. But before you do, it is important to know what type of foot shape you have and then invest in the right pair of shoes accordingly.


